Task Scheduler can help you automatically launch a program or PowerShell script at a certain time or when certain conditions are met. You can also schedule sending emails and even displaying certain messages.
To create a task, open Task Scheduler by pressing “Windows+R” and typing taskschd.msc in the window that opens. Then take the following steps:
1. Create a Task
Click Create a task and enter a name and description for the new task. To run the program with administrator privileges, check the Run with the highest privileges box. In our example, we’ll assign a service account to run the task and run it regardless of whether the user is logged on.

2. Configure Triggers
Switch to the Triggers tab and click the New… button. Here you can specify the conditions that trigger the task to be executed. For example, you can have it executed on schedule, at logon, on idle, at startup or whenever a particular event occurs. We want our task to be triggered by any new software installation, so we choose On an event from the drop-down menu and select Application from the Log drop-down. Leave the Source parameter blank and enter “11707” for the EventID. Click OK to save your changes.

3. Configure Actions
Navigate to the Actions tab and click New…. Here you can specify the actions that will be executed whenever the trigger conditions are met. For instance, you can send an email or display a message. In our case, we want to start a program. You can find the script here; it will send an alert with the event details about the installed software.
To schedule the PowerShell script, specify the following parameters:
- Action — Start a program
- Program\script — powershell
- Add arguments (optional) — -File [Specify the file path to the script here]
Click OK to save your changes.

4. Configure Conditions
The Conditions tab enables you to specify the conditions that, along with the trigger, determine whether the task should be run. In our case, we should leave the default settings on this tab.

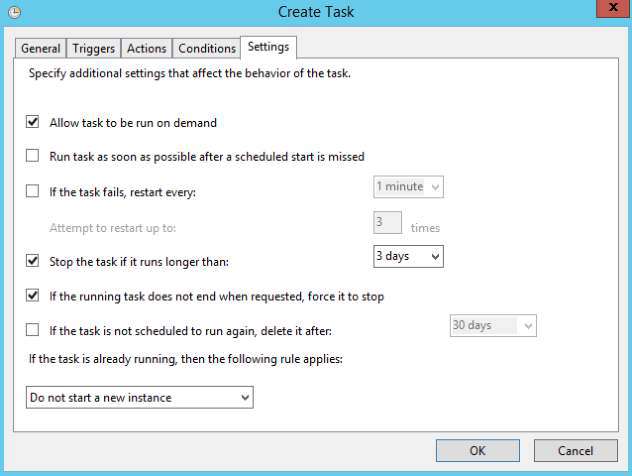
5. Configure Settings
You can also set up additional parameters for your scheduled task on the Settings tab. For our example, though, we’ll leave them unchanged.
6. Enter Credentials
When the task is completely set up, the system will ask you for the service account password. Note that this account must have the “Log on as Batch Job” right. Enter the password and click OK to save the task.
7. Verify Task Scheduler Service
For Task Scheduler to function properly, the Job Scheduler service must be set to start automatically. Run Services.msc. In the list of services, find Task Scheduler and double-click it. On the General tab, set the startup type to “Automatic” and click OK to save your change.
Now whenever new software is installed on your Microsoft Windows Server, you will be notified via an email that details the time of the installation, the name of the software and the user ID (SID) of the person who installed it.
Managing Tasks
To modify an existing task, right-click it in the list, select Properties, edit the required settings and click OK.
To delete a scheduled task, right-click it, select Delete and confirm the action.